Sourdough bread, with its tangy flavor and crunchy crust, is a labor of love that begins with a simple concoction: the sourdough starter. This magical mixture of flour, water, and wild yeast is the heartbeat of every sourdough loaf. If you’re looking to delve into the world of artisanal breadmaking, here’s a step-by-step guide on creating and maintaining a thriving sourdough starter, complete with example amounts.
1. Gathering Your Tools and Ingredients
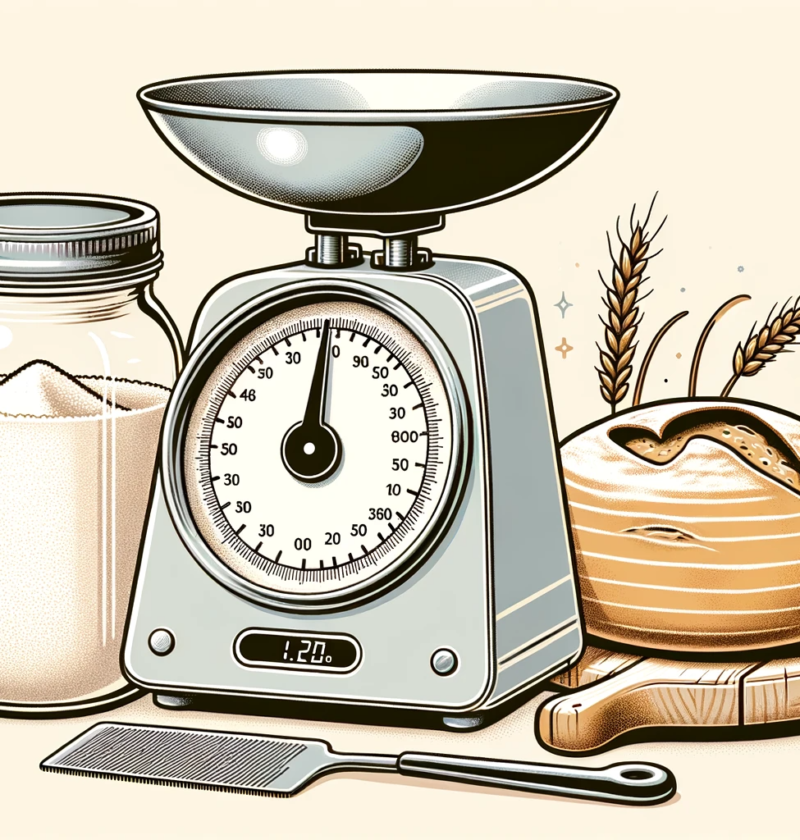
To set yourself up for success, it’s essential to have the right tools.
- Scale: Precision is key. An accurate food scale is the first thing you will need.
- Container: Opt for a clear container to observe the growth. Use a jar that provides ample space and allows you starter to breathe and expand.
- Spatula: For mixing and folding of the starter, a sturdy jar scraper spatula that is both flexible and durable is needed.
2. Creating Your Starter
Day 1:
- 100g whole grain flour
- 100g lukewarm water
Mix the flour and water in the jar using your spatula until well combined. Cover loosely, and let it sit at room temperature for 24 hours.
3. Daily Feedings
Day 2 to Day 7:
- Discard half of your starter (around 100g)
- Add 100g whole grain flour
- Add 100g lukewarm water
Using your spatula, mix thoroughly until smooth. Cover and let sit at room temperature. Repeat this feeding process daily.
4. Recognizing a Mature Starter
By Day 7, your starter should be bubbly, have a pleasant tangy aroma, and double in size between feedings. If it’s not showing these signs yet, continue the daily feeding routine until it does.
5. Maintaining Your Starter
- Active Baking: If you plan to bake often, keep your starter on the counter and feed it daily.
- Occasional Baking: Store your starter in the refrigerator and feed it once a week. Before baking, take it out, let it come to room temperature, and feed it at least once.
6. Troubleshooting
- No Bubbles: If after several days, there are no bubbles, ensure your water is dechlorinated and try switching flour types.
- Hooch Formation: A layer of liquid (hooch) indicates your starter is hungry. Pour it off or mix it in, then feed your starter.
- Unpleasant Odor: If your starter smells off or like acetone, it might need more frequent feedings.
- For other frequently asked questions, visit this page: Frequently Asked Questions.
Conclusion
Starting and maintaining a sourdough starter is a journey of patience and passion. But with accurate measurements, the right tools, and a little love, you’ll be rewarded with the unbeatable taste and texture of homemade sourdough bread. Dive in and embrace the joy of baking!
Happy Fermenting and Baking!